While the title of this post is in keeping with my offerings for easy stitch makes, the truth of the matter is that it has nothing to do with stitching! However, it is very much do with wool which has continued as a huge textile passion this summer. In a year where we have needed to wash our hand like never before, making felted soap felt like a very fitting project. Plus it's a fun and easy to make that has several benefits over conventional soap bars - it makes soap last longer, gently exfoliates hands and never leaves a residue after use. Better still, the results that can be achieved are beautiful.

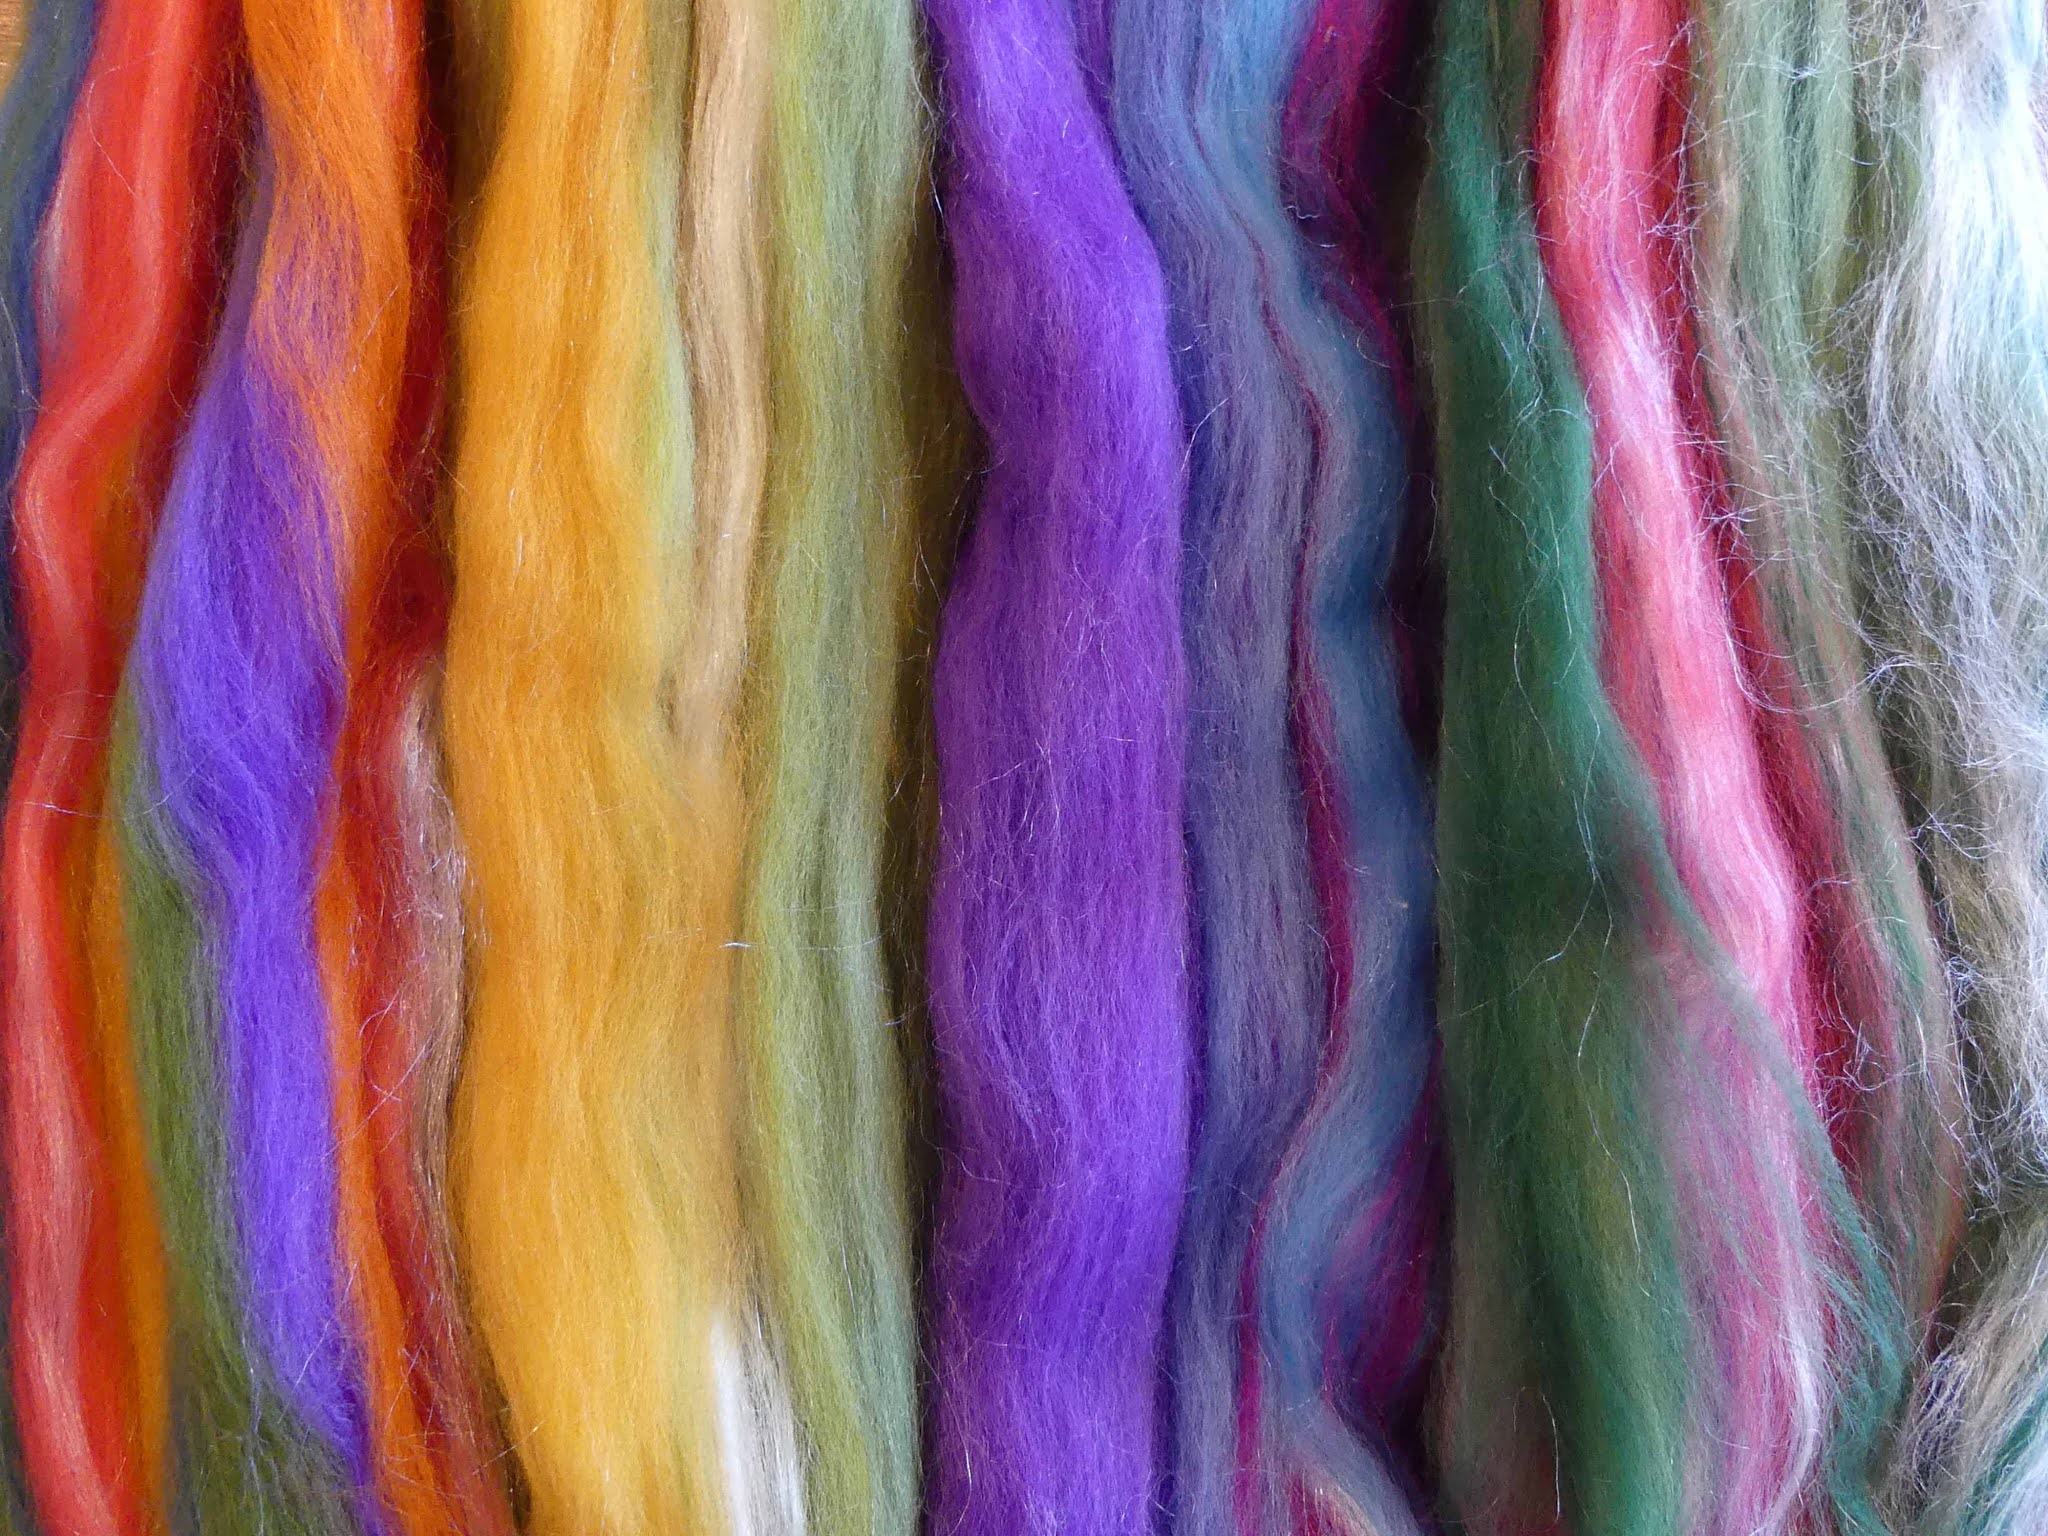
Beautiful wool fibres blends are are the basis for this project and they readily available on the internet. Here are a few of the blended merino fibres that I purchased online this year from some of my favourite retailers - the fibres of merino wool work best for felting. I always have fibres for sale in my Spring Farm studio for anyone who lives locally and is looking to source.
Getting hold of soap this summer was a little harder to start with and my desire for pebble shaped soaps even more so. I found some fabulous traditional shaped French rose scented soap in my local health shop and decided to have a go with rounding the corners off with a vegetable peeler. This did the trick perfectly and gave a slightly more pleasing rounded shape.

The first step is to gather all that you need for the felting process - wool fibre, a piece of tulle net and a small bowl each of hot and cold water. Then take a length of blended fibre - long enough to wrap around the shortest side of the soap with a bit of overlap. The most important thing here is to pull the fibre length rather and cut and it's also important to felt a couple of thin layers rather than one thick one.

Then wrap the encased soap in a piece of Tulle net with a generous overlap and dunk this into water as hot as your had can stand to expand the fibres. Start to felt with small light circular motions with your finger tips, gradually increasing the pressure and size of the circles. Keep checking that the net is free and not getting caught up in wool as the wool starts to felt - when this starts to happen it's time to move onto the next stage.

Now to pull another length of fibre to wrap around the soap in the other direction - it's best to dry your hands off before you do this.

As before, wrap the fibre carefully around the damp soap, making sure this time that all the soap bar is covered.

Wrap the tulle net around again and dunk in hot water and start to gently rub with circular motions. Increase the pressure as before and when the net starts to attach to the soap, remove and continue the felting process straight onto the fibres.

Leave the felted soap to dry and then wrap in a pretty ribbon to make a delightful gift. I have made for numerous gifts this summer and have assured all recipients that they really can use! The felting process continues as the soap is used and after lots and lots of hand washing, only a shrunken wool casing is left. As to what to use the final felted pieces for, well that's a creative project for another day!

No comments:
Post a Comment