Working with vintage Kimono silk has been an fabulous finger experience for me this year. It has also amazed me just how much there is to learn about this traditional Japanese textile. In a modern world where textiles are often viewed as an easy and disposable commodity, it has been a wonder to be reminded of an era and culture where textiles were highly revered.

So for a few simple facts about Kimono fabric, starting with that it is generally round 34-38cm wide and 11m long - there is very little cutting of the fabric which makes is an amazing textile to recycle. Made traditionally from hemp, link and silk, the designs of Kimono textiles are complex. Hugely influenced by nature, the seasons, and the virtues of the wearer, the colours and designs held a significance which is quite alien to modern Western thinking. I am greatly enjoying sourcing vintage pieces from around the world and giving my students the opportunity to enjoy the fabulous designs and stitching experience.

When pondering what to make with my cherished silk, I came across Japanese 'Kinchaku' bags - translated as 'carry cloths'. These traditional drawstring bags were often used as coin purses by Kimono wearers. There may well be an optimum size for these bags, however, I opted for making best use of the silk width and after pressing a lightweight vilene to the reverse of a piece of Kimono silk, I cut 5 x 4.5" squares.

After choosing which pieces would be the sides and which way around, I pinned the 4 side pieces right sides together to the central base piece and stitched each with a scant seam - the smallest seam you are comfortable stitching. It makes for easier construction to start and end each seam short by the seam allowance you use.

Then I pulled up the sides and again pinned right sides together and stitched a scant seam. It can be quite tricky to machine stitch into each corner and an extra hand stitch or two may help to get a neat finish. While pressing all the seams open is a bit fiddly, it greatly helps the final finish.

Next comes making carriers for the drawstring, which starts with 4 pieces of stabilised silk 4.5" x 1.5". I folded the long raw edges into the centre and after folding in half to enclose, I top stitched down both long raw edges. I then cut the 4 stitched strips in half again.

To attach the tabs, I folded each in half and pinned 2 to each side equally spaced - divide a side width by 3 for the precise measurement. I then stitched close to the top raw edge of the outer bag to secure.

I chose a light weight wool fabric to line my Kinchaku bag and cut and constructed as per the outer bag - no vilene is required where wool is used. Again press all the seams open.

I chose a light weight wool fabric to line my Kinchaku bag and cut and constructed as per the outer bag - no vilene is required where wool is used. Again press all the seams open.

Finally I placed the outer bag inside the inner bag right sides together and I stitched a scant seam all around the top edge. The last step was to open a 1.5" hole in the lining and to pull the bag through. I find that opening a hole makes for a neater hand stitched closure after the bag is pulled through.

And with a final press and a simple braid threaded through the top tabs, the Kinchaku bag is now complete. It can of course be made in any size and makes for a delightful bag to hold a special gift.

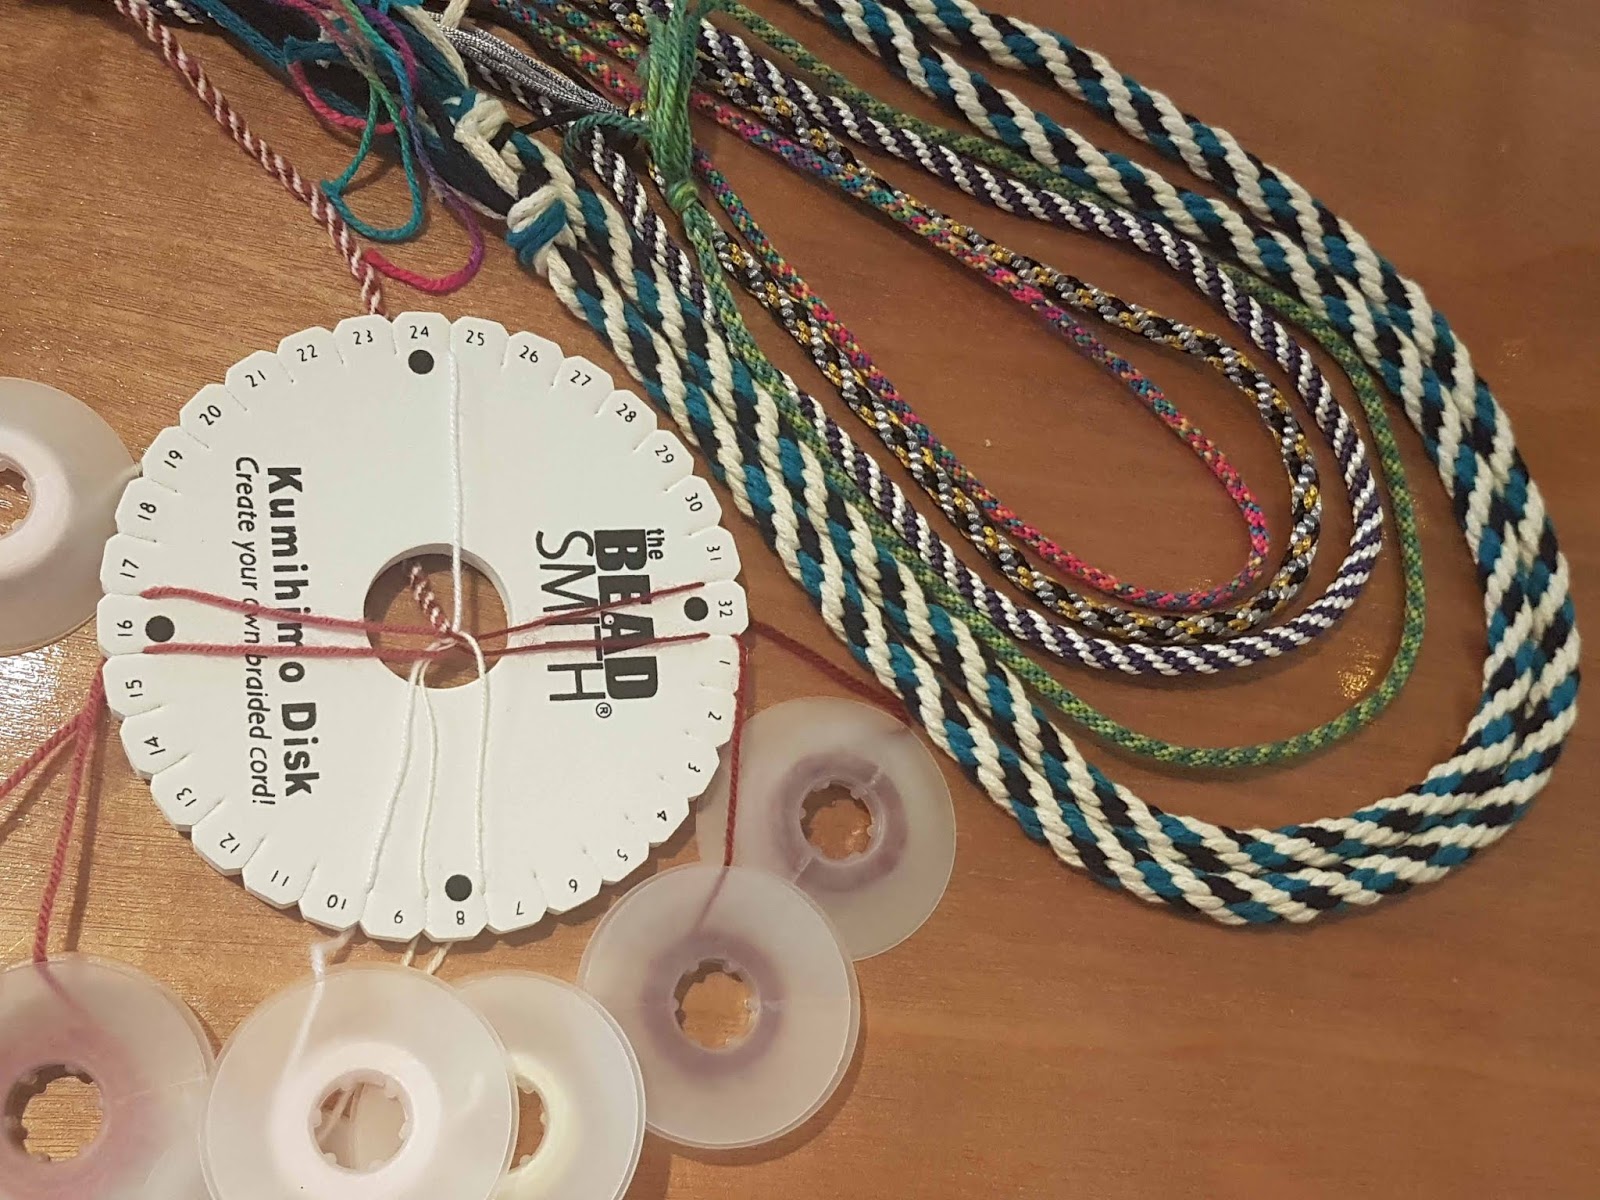
Even better, the drawstring cords can be made by the Japanese Kumihimo braiding technique - a brilliant winter and travel project as one of my students Linda has already discovered. This technique has much engaged me too this year and there will be more to follow on my adventures soon.
Thank you for easy to understand tutorial
ReplyDeleteYou are very welcome - I hope that you enjoyed making.
Delete