As much as I love using technology, there is something very special about holding a book in my hands. Better still when the book has tactile qualities and I find wool and silk give me very pleasurable hand holding experience. In need of something useful to do with my hand during Somerset Arts 2017, I decided to create some beautiful book covers for some functional hard back sketch books I purchased a few years ago. These wool and silk covers were a real pleasure to create and they make for beautiful presents at any time of year.
My starting point was to create some felted fabric on the embellisher machine I have in my studio (a topic for a future post). A piece of hand felted fabric would have been equally as good, or indeed any soft fabric. To work out the amount of fabric required, I measured the height of my sketch book and then the width x 2 plus the spine - and added half an inch to both measurements. My A5 sketch book was 6" in height and 10" around the front, spine and back, so my piece of fabric was 6.5" and 10.5".
Next I created two 'sleeves' to hold the book cover. I opted to use pieces of silk backed with heavy weight iron-on vilene for durability. I cut the sleeves the same height of the book at 6" and 2.5" wide and I and pressed a scant seam over on one long side on each piece. The fold over seam can be finished with any form of decorative stitch.
I then lined applied a piece of bondaweb to the reverse of the main felted piece and pressed a piece of silk on top. You could skip using the bondaweb, however, you will need to pin much heavily than I did when the sleeves are put in place on the left and right of the cover to avoid everything slipping around.
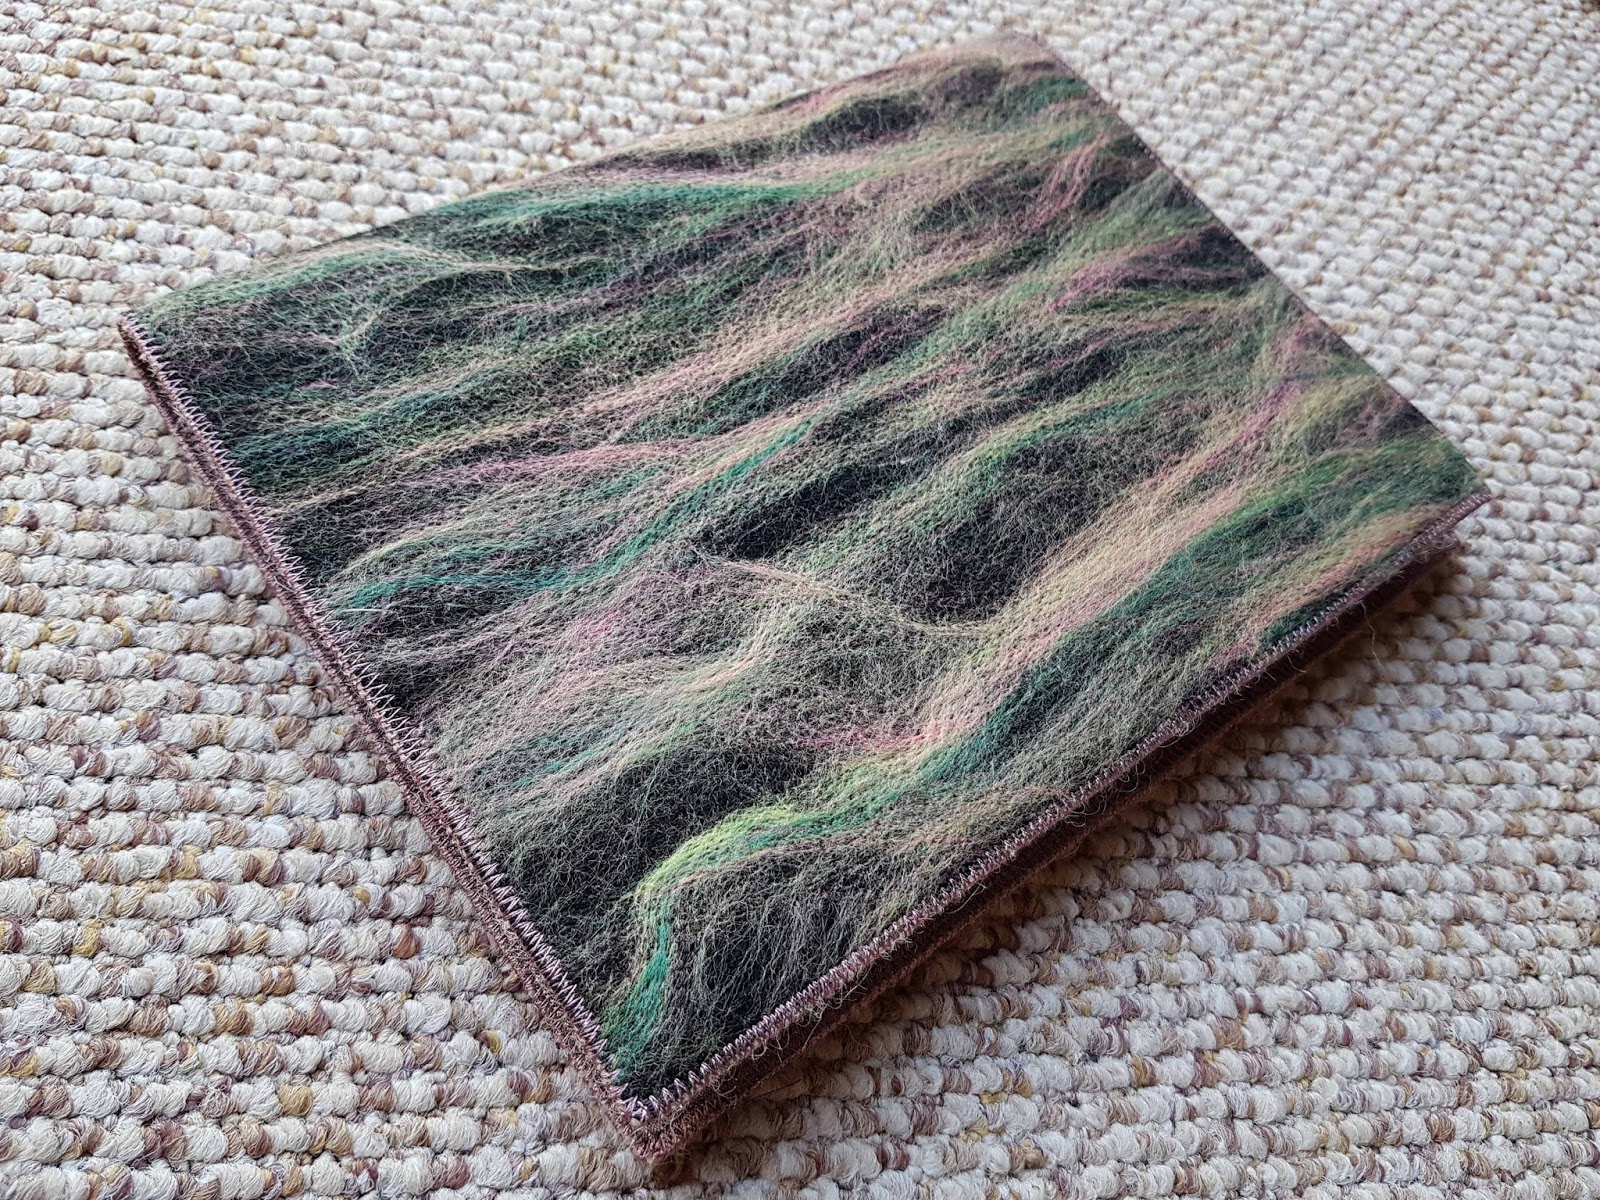
Then to neaten the edge of the book cover and to do this I used a wool twine that I love using called Twool. Made in Devon, it is marketed as garden twine, however, I much prefer save using this deliciously tactile 100% wool product in decorative ways. Using an open toed foot and a zig zag stitch, I couched the Twool around the edge of the cover with a relatively open stitch. /To ensure that I have caught all the fabric in, I then went round a second time. I find that it's good to test the width of the zig zag first off, particularly when I use silk as it's so prone to fraying.
All that was left to do now was to slip my chosen sketch book in place by tucking in the front and back cover into the sleeves. I find that by keeping to the measurements as above, the sleeve fits perfectly every time.
While I love to hold wool and silk, covers can be made for books by this method in pretty much any fabric. In times past, I've created all kinds of fabric for covers, and often used felt as a economical way to line the book and make the sleeves. The possibilities are endless I would love receive pictures of any book covers you make from this post.


No comments:
Post a Comment