My starting point was a piece of beautiful wool and cashmere fabric from Stitch Fabrics by Rosenberg - I love buying from super knowledgeable owner Geoff as he can tell a story about every bolt of fabric he has in stock - and he has hundreds! I then dug deep in my basket of spun wool oddments - to help with another aim to always be able to keep the lid on!

Then came a very pleasurable few hours creating a piece of fabric for the outside of my roll. I felted the spun wool into the wool fabric with my much loved embellisher machine - which is simply a felting machine which 'dry felts' quickly and easily. Wools could be hand felted down, albeit that it would take quite a while. Or alternatively wools and cords could be stitched down with a zigzag stitch on a sewing machine. I cut my final piece to 17.5" wide x 15" height and gently rounded off the corners.

Designing storage is best done with plenty thought, particularly where what you are storing might grow! I opted to cut the following pocket sizes 17.5" in width and 11", 8" and 4" in height. Choosing silk fabric I purchased on a trip to the Scottish Borders last year made a little more work for this stage as I needed to stabilize the reverse of all pieces with heavy weight iron-on Vilene. I then folded over the top edge and secured with a used a decorative machine stitch.

I then stabilised a piece of silk the same size as the external cover and laid down the 3 pockets, starting with the largest and finishing with the smallest. After pinning lots through all the layers, I machine stitched pockets lines of various widths, from the bottom edge to the edge of the largest pocket. I decided against adding a flap at this point to avoid extra bulk.

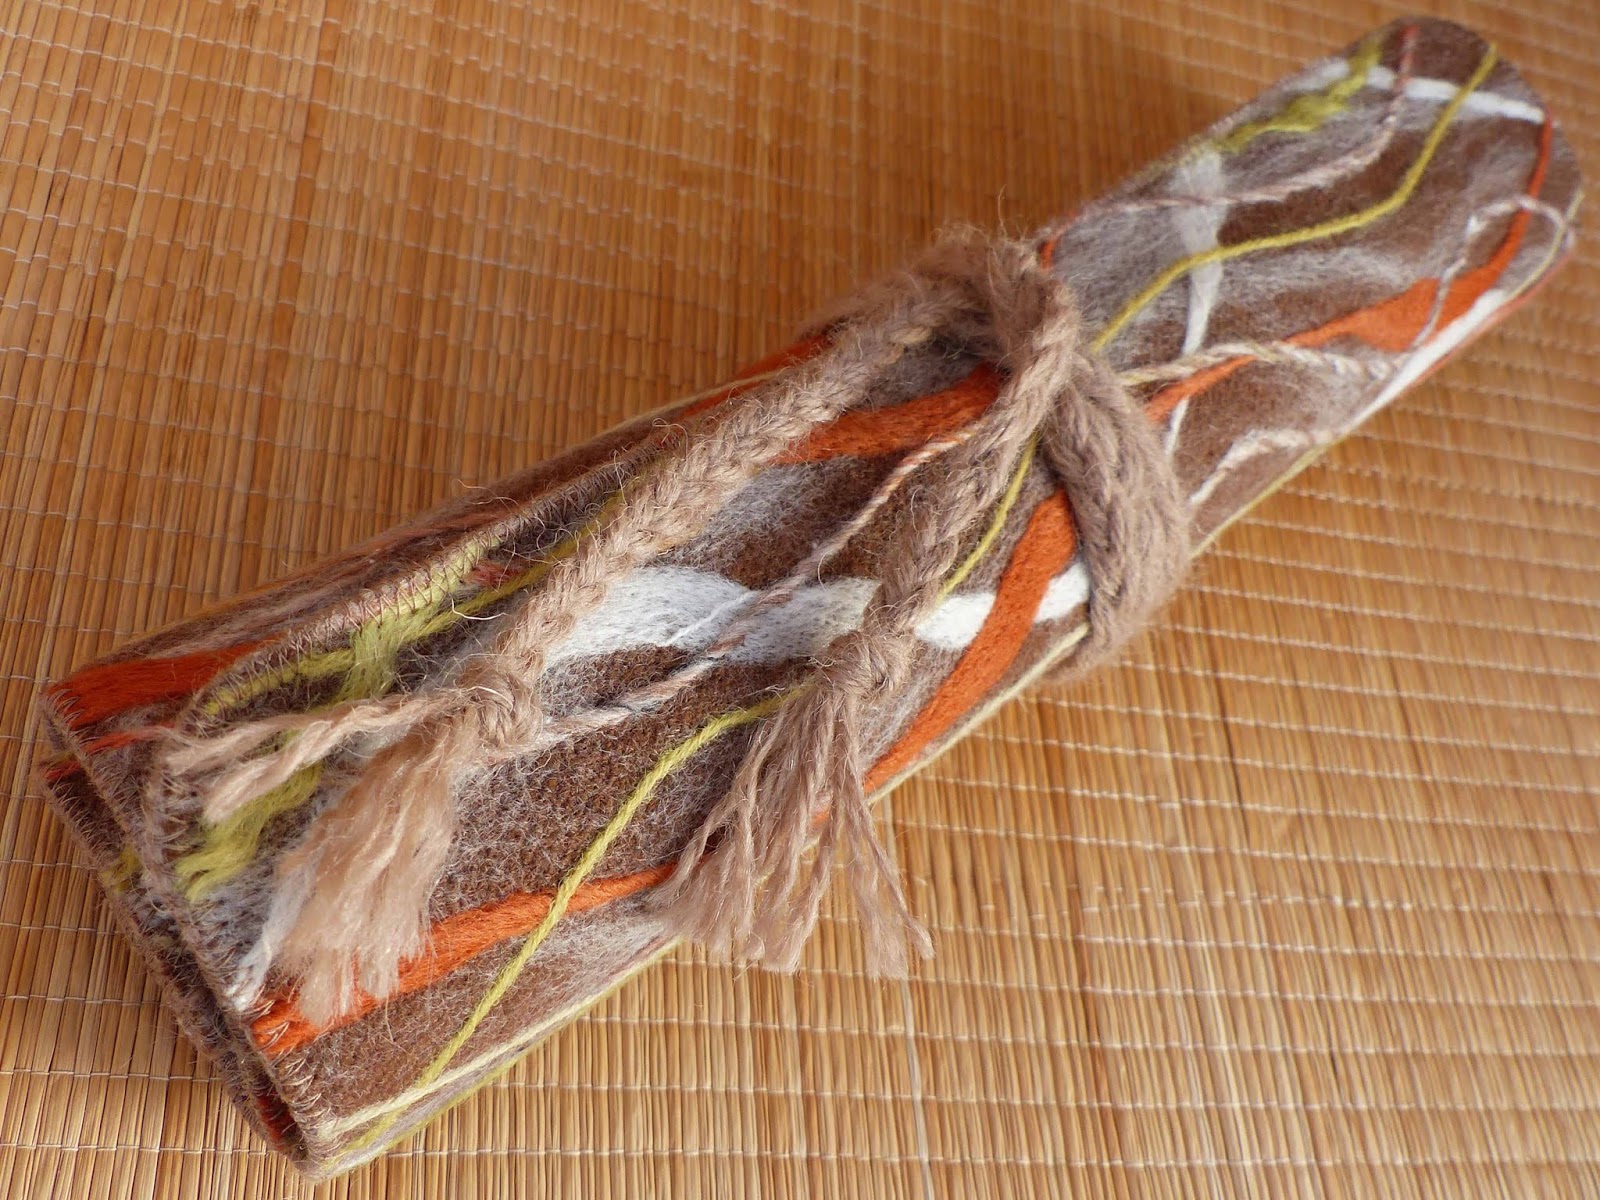
Finally I bonded the pocket piece to the back of the external piece with Bondaweb and did a final trim all the way round. I then edged the whole piece in Twool - this is a 100% wool product made in Devon that I use creatively for many wool based projects. I butted a strand of Twool twine up to the raw edge and used a wide open zigzag stitch to secure and when round a second time to ensure it was caught in all places. Half a dozen strands of Twool twine also made for a perfect tie.

And finally the moment where my bamboo needles were moved into their new home, along with a few other useful bits such as stitch markers and measures.

I felt very satisfied to have made a project that serves a useful purpose and even better, I get to feel lovely wool in my fingers every time I pick up and remember where it all came from. I'm really looking forward to seeing this project made by others in my workshops and I would be delighted to receive photos from anyone who makes from these instructions.
No comments:
Post a Comment